Employees
How to add a new employee
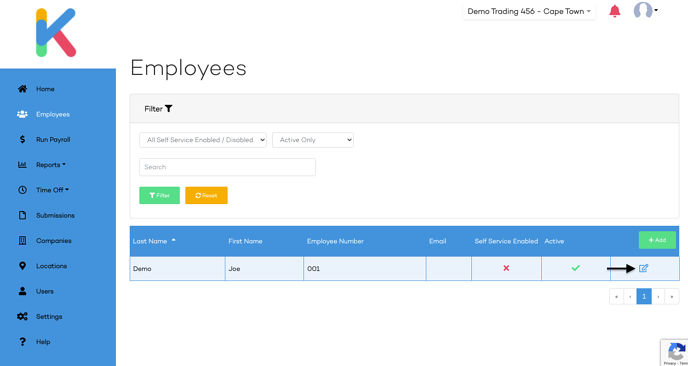
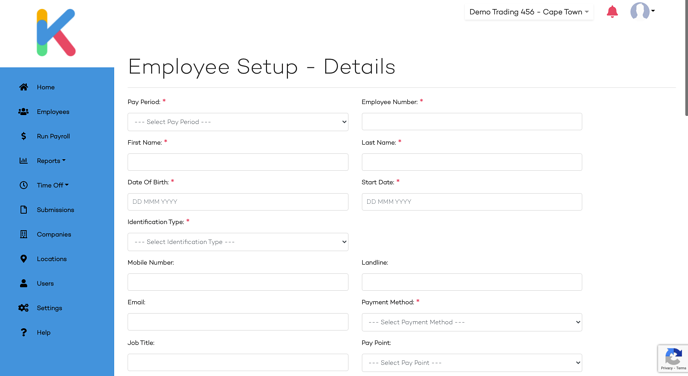
There are two ways to add employees. The first is to add an individual employee. To do this you will select Employees from the menu on the left-hand side. From there you will click on the Add button located on the right-hand side which will then take you to the Employees Setup Đ Details page.
Adding an employee Đ option 2
The second option for adding employees would be the Employee Bulk Import. Using this method, you can add multiple employees at once. Select Settings from the main menu on the left-hand side and proceed to Employees and then Employee Bulk Import.

You will then need to download the template by clicking on the link called Download The Template File Here. Once you have completed the template you will upload it to the same page and choose the pay frequency. Once you have uploaded the file you will then see the results of the successful and unsuccessful uploads.
How to edit an employee
To edit an employee you will need to select Employees from the left-hand side menu and then click on the edit button for the particular employee you would like to edit.
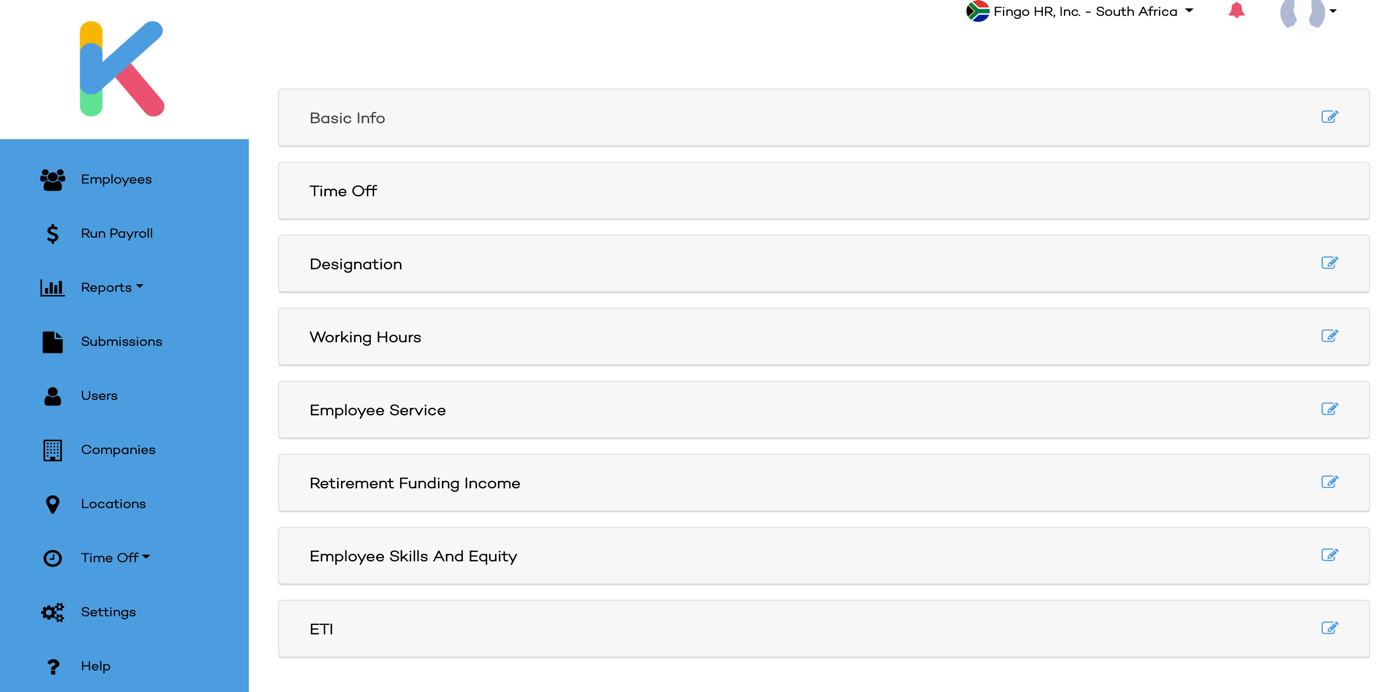
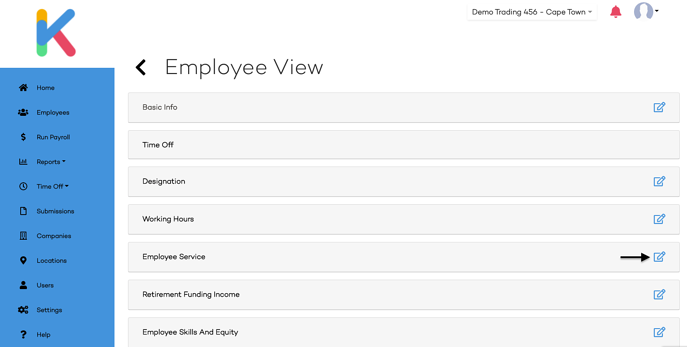
From the edit screen for the employee you are able to edit the following information: Basic Info, Time Off, Designation, Working Hours, Employee Service, Retirement Funding Income, Employee Skills, and Equity & ETI.
How to activate self-service
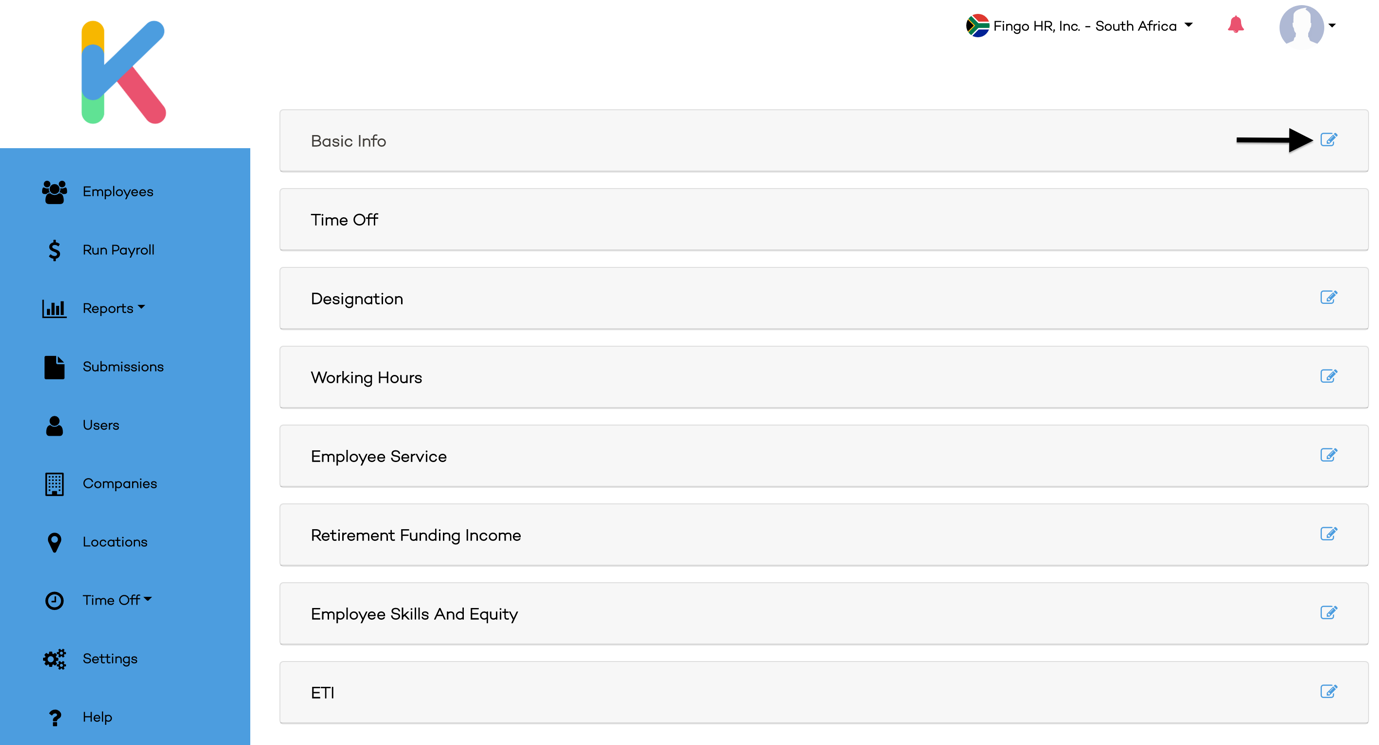
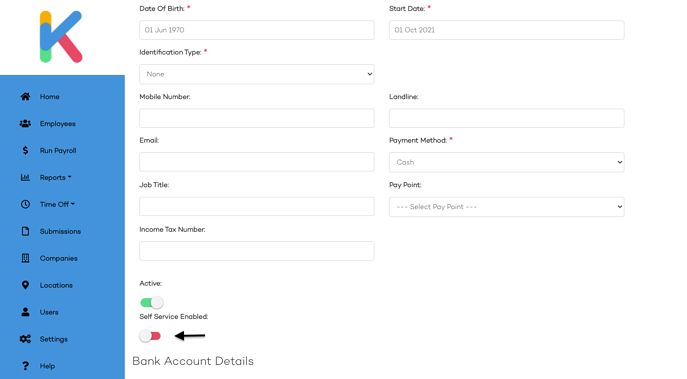
To activate the self-service for an employee, you will need to proceed to the edit section for the particular employee as explained above. From here you will need to click on the edit but for the Basic Info. If you scroll down you will see a toggle called Self Service Enabled. Move the toggle and then click on save at the bottom of the page.
If you go back to the Employee page you should now see a tick in the Self Service Enabled column for that employee. They will receive an email giving them instructions on how to set up their access. You can also resend the email by clicking on the paper plane icon.
To terminate an employee
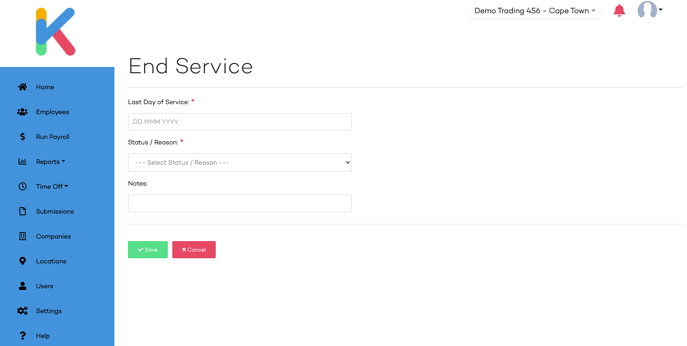
To terminate an employee, you will need to proceed to the edit section for the particular employee as explained above. From here you will need to click on the edit button for Employee Service. You will be taken to the End Service page and you will be required to enter the date for the employeeŐs last day and the reason they are being terminated.
How to set up ETI
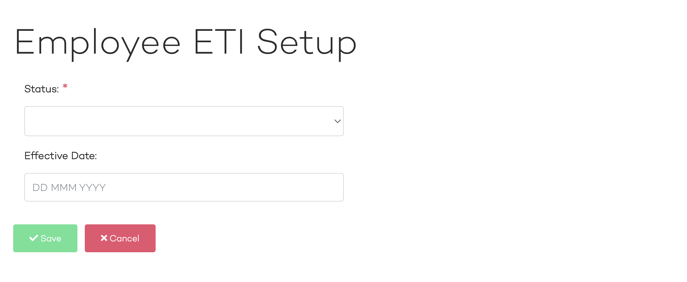
If an employee qualifies for ETI you can set this up by going to Employees and then clicking on the edit button next to the employee who qualifies. You will now be on the Employee View screen for the employee and if you scroll down to the bottom you will see ETI. Click on the edit button next to ETI and you will see the following screen appear. In the status block please select Allow and then completed the other section that will appear once you make your selection. Once you have completed the required sections click on Save.
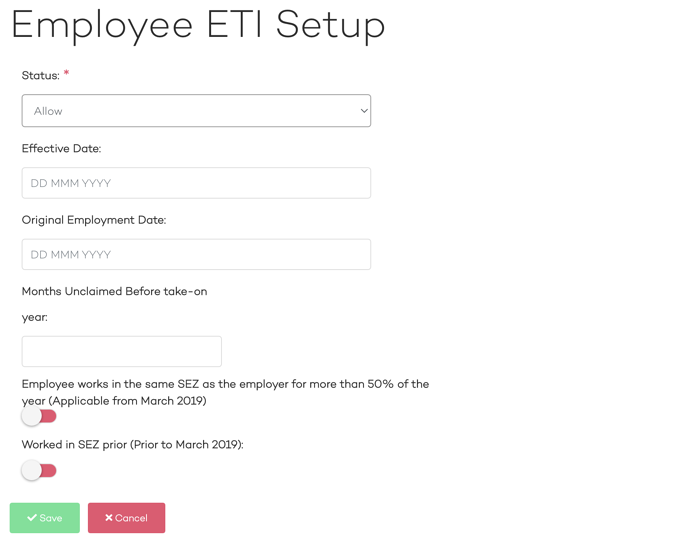
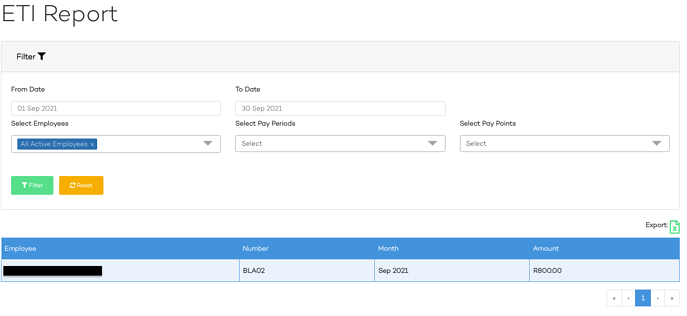
The system will now calculate the correct amount based on the information you provided. The amount will not appear on the payslip or on the preview payslip screen either. You will see the total ETI on the EMP201 once you have completed the pay run for the month. To see a breakdown for each employee that qualifies please download the ETI report.
How to add documents
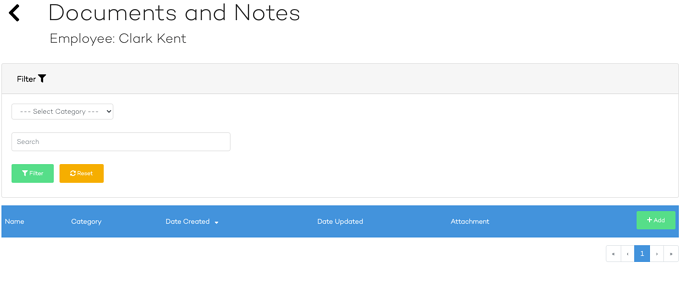
It is now possible to add documents to KarbonPay for a particular employee. You are now able to store an employeeŐs contract, salary increase documents, performance reviews, and many other documents all in one place. To start uploading documents, proceed to Employees and then click on the edit button for the employee you would like to add a document. You will be taken to the Employee View screen, when scrolling down you will now see a section called Documents and Notes.

When clicking on the edit button next to Documents and Notes you will be taken to the Documents and Notes screen which will show you all the Documents and Notes you currently have on the system for the employee. You will also see an Add button which will allow you to add a new document and note to the list.
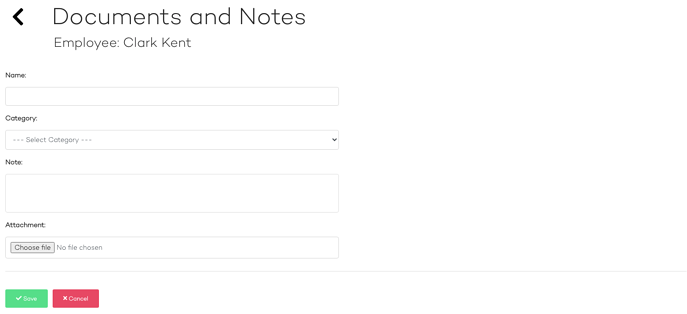
Please note that the Category drop-down list is customizable. To create your own Categories proceed to Settings > Employees > Note Categories.
How to set up Employee Skills and Equity
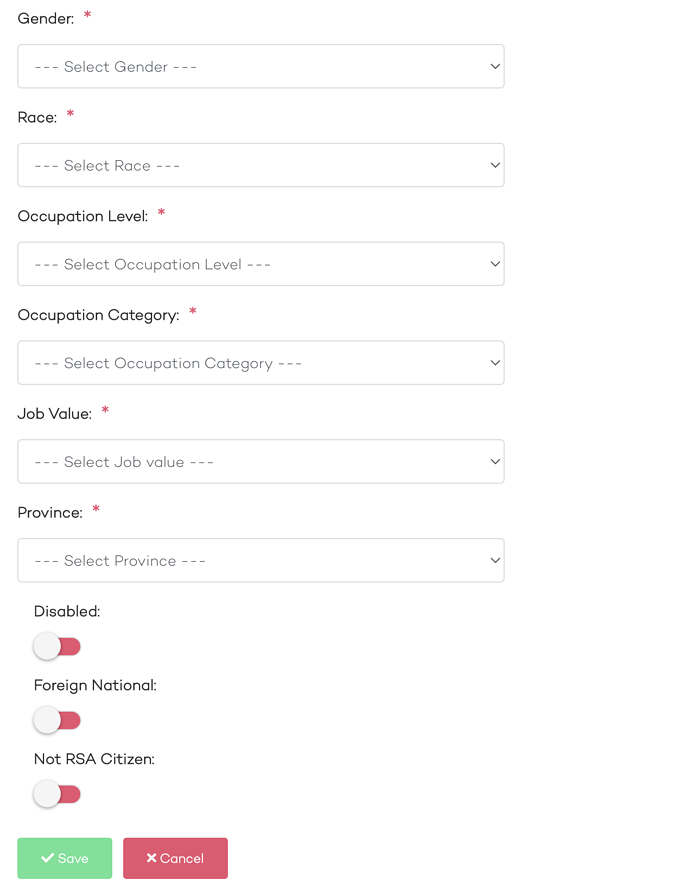
To set up the Skills and Equity for your employees proceed to Employees and then click on the edit button for one of your employees. You will now be on the Employee View screen for the employee you selected. Scroll to the bottom of the page and the second last option will be Employee Skills and Equity. Click on the edit button next to Employee Skills and Equity and you will be taken to the Skills and Equity page where you will be able to complete the relevant information for the employee.
Once the Employee Skills and Equity section has been completed for each employee, one can then pull an Employee Skills and Equity report.

How to add a new employee
There are two ways to add employees. The first is to add an individual employee. To do this you will select Employees from the menu on the left-hand side. From there you will click on the Add button located on the right-hand side which will then take you to the Employees Setup Đ Details page.
Adding an employee Đ option 2
The second option for adding employees would be the Employee Bulk Import. Using this method, you can add multiple employees at once. Select Settings from the main menu on the left-hand side and proceed to Employees and then Employee Bulk Import.
You will then need to download the template by clicking on the link called Download The Template File Here. Once you have completed the template you will upload it to the same page and choose the pay frequency. Once you have uploaded the file you will then see the results of the successful and unsuccessful uploads.
How to edit an employee
To edit an employee you will need to select Employees from the left-hand side menu and then click on the edit button for the particular employee you would like to edit.
From the edit screen for the employee you are able to edit the following information: Basic Info, Time Off, Designation, Working Hours, Employee Service, Retirement Funding Income, Employee Skills, and Equity & ETI.
How to activate self-service
To activate the self-service for an employee, you will need to proceed to the edit section for the particular employee as explained above. From here you will need to click on the edit but for the Basic Info. If you scroll down you will see a toggle called Self Service Enabled. Move the toggle and then click on save at the bottom of the page.
If you go back to the Employee page you should now see a tick in the Self Service Enabled column for that employee. They will receive an email giving them instructions on how to set up their access. You can also resend the email by clicking on the paper plane icon.
To terminate an employee
To terminate an employee, you will need to proceed to the edit section for the particular employee as explained above. From here you will need to click on the edit button for Employee Service. You will be taken to the End Service page and you will be required to enter the date for the employeeŐs last day and the reason they are being terminated.
How to set up ETI
If an employee qualifies for ETI you can set this up by going to Employees and then clicking on the edit button next to the employee who qualifies. You will now be on the Employee View screen for the employee and if you scroll down to the bottom you will see ETI. Click on the edit button next to ETI and you will see the following screen appear. In the status block please select Allow and then completed the other section that will appear once you make your selection. Once you have completed the required sections click on Save.
The system will now calculate the correct amount based on the information you provided. The amount will not appear on the payslip or on the preview payslip screen either. You will see the total ETI on the EMP201 once you have completed the pay run for the month. To see a breakdown for each employee that qualifies please download the ETI report.
How to add documents
It is now possible to add documents to KarbonPay for a particular employee. You are now able to store an employeeŐs contract, salary increase documents, performance reviews, and many other documents all in one place. To start uploading documents, proceed to Employees and then click on the edit button for the employee you would like to add a document. You will be taken to the Employee View screen, when scrolling down you will now see a section called Documents and Notes.
When clicking on the edit button next to Documents and Notes you will be taken to the Documents and Notes screen which will show you all the Documents and Notes you currently have on the system for the employee. You will also see an Add button which will allow you to add a new document and note to the list.
Please note that the Category drop-down list is customizable. To create your own Categories proceed to Settings > Employees > Note Categories.
How to set up Employee Skills and Equity
To set up the Skills and Equity for your employees proceed to Employees and then click on the edit button for one of your employees. You will now be on the Employee View screen for the employee you selected. Scroll to the bottom of the page and the second last option will be Employee Skills and Equity. Click on the edit button next to Employee Skills and Equity and you will be taken to the Skills and Equity page where you will be able to complete the relevant information for the employee.
Once the Employee Skills and Equity section has been completed for each employee, one can then pull an Employee Skills and Equity report.